Showing posts with label Butterflies. Show all posts

Thursday, September 10, 2020

Inky Blue Blue Blueeee Butterflies

 A craft session isn't a craft session unless you leave with ink all over your hands and it looks like you have bruised your arm because stain has dyed your skin permanently blue, right? 

...just me? 

Vintage Hero Arts Butterfly Stamped and colored with Color Burst Powders

I love working with Color Burst powders, but unless you have a very gentle touch things can get messy quite fast. Warning from me to you: Do not squeeze the bottle EVER. Just a light side tap will do. 

Blueprint Sketch Tim Holtz Distress Oxide Through Stencil

I wanted to see how Distress Oxides would react with Color Burst powders, so I began by sponging some through a very well-loved, painted up stencil (STAMPlorations Dots All Over Stencil). 


Brutus Monroe Color Burst Powders through STAMPlorations stained glass stencil

Next, I firmly laid down another stencil (STAMPlorations Broken Glass) and painted it lightly with water, then added some powder to the water, then spritzed lightly with water again and spread with my paintbrush. 

I actually love the way the Distress Oxides come through. It's not quite the reaction I thought would happen (I expected slightly gray and chalky) but it's beautiful nonetheless. 

Vintage Hero Arts Butterfly painted with Ken Oliver Color Burst Powders

Sometimes my vintage stamps don't get enough love, as is the case with this beautiful butterfly, which is definitely one of my favorite stamps. I inherited it from my grandma's stamp collection when she passed away about 5 years ago. I ?think? it's vintage Hero Arts, but if anyone recognizes it, please let me know. 

Anyhow I stamped and colored a bunch of these, so you can see what some of the other Color Burst powders look like. 

Stamped Handmade Card with Blue Butterfly colored with Brutus Monroe Color Burst Powders

After I fussy cut the butterflies (seriously I need one of those auto cutout machines) I layered with some black and white paper, as well as some vintage lace, also courtesy of my grandma's stash. I finished it off with a Tim Holtz sticker sentiment. 

I'm playing along in these challenges: 
Get Creative Challenges: Black and One other Color
Crafty Cardmakers: Things with Wings
Simon Says Stamp: Use your Favorite Stamp

Et voila! Thanks for stopping by! Leave me a comment and I'll make sure to return the favor. 


Sunday, May 3, 2020

Baby Pink Card - Two Ways

I'm a card designer who likes to explore different styles. My favorite style by far is mixed media, followed closely by shabby chic because both seem to come naturally to me. It's like my brain thinks in layers. 

And while I admire clean and simple cards, the style is as elusive to me as liking exercise. I swear to goodness, I just LOOK at some white space and BAM! an inky thumbprint appears. 


So since there are a bevy of challenges I wanted to play along in this week, I decided to try my hand at creating both shabby chic AND clean and simple cards. 

My shabby chic card is inspired by the swath of pink flowers in the inspiration image at Inkspirational and the sketch challenge at Beccy's place


I wanted to create an uplifting card and I bought a brand new kit from Unity Stamp Company that's perfect for anyone worrying in this time of uncertainty. 


I'm in loooove with all the texture in this design and also with that big scrawly sentiment. 

My next card was inspired by three different challenges: STAMPlorations CAS card challenge's current theme is anything goes with the option of baby pink. I'm also using the sketch from Freshly Made Sketches. 


And there's a really cool technique challenge at the CAS Mixed Media Challenge that I've never tried before: gesso resist. 


I've done resist with a lot of things, but I've never tried it with gesso. 


I painted a stamp I had from the STAMPlorations Trendy Butterflies stamp set with a thin layer of gesso and then stamped it into the center of my paper. I apparently hadn't cleaned my stamp from the inking before and so it turned out a little gray - which I actually didn't hate. 


Gesso resist definitely isn't as foolproof as embossing resit. I found that I couldn't quite wipe away all of the color, but nonetheless it was pretty. 


I sponged it with some Distress Inks, splashed with a little bit of water, and then used some Pink Distress Oxide Spray Stain to add a little bit of darker splatter. I finished it with a simple sentiment.

It was a fun challenge to try such different styles! Which one do you like best?

Sunday, April 12, 2020

Color Burst Butterflies

Not everything is bad about this crisis. Hear me out. 

All over the world, people are coming together in unique ways. Zoom rooms, Skype chats, FaceTime - people of all ages are getting in on a real technological revolution. And we're finding out just how many of those meetings could have been emails after all. 

handmade-ken-oliver-color-burst-card-butterfly-stamped


I'm so pleased to say that tonight, the technological revolution allowed me to "meet" one of my bloggy idols, Lauren Bergold of ...all the GOOD blog names were taken. I've followed her for years and gushed over all her amazing cards. Her instagram account is my absolute favorite because she's just a one-woman explorer of all things colorful. 

As I said on my last blog post, I've been playing along with some of the challenges Paper Anthology has released on their Facebook page. And they also also do nightly Zoom calls! So this North Dakota girl had fun crafting away in isolation, while getting to chat with some amazing crafters from New Jersey. 

I decided to play along with the You're not the Emboss of me challenge. 

Image may contain: text

Since I was feeling especially Springy (even though it definitely snowed today *facepalm*), I pulled out these gorgeous butterflies from the STAMPlorations Trendy Butterflies 2 set along with some classy gold embossing powder. 


I used mixed media paper with the sole intention of breaking out the vivid loveliness of Ken Oliver Color Bursts. 

watercoloring-stamped-cards

I dipped my paintbrush into the water and wet the paper before sprinkling on the powders. 


Then I used a damp paintbrush to spread the powders. In order to create a gradient with watercolors, I rinsed out the paintbrush and then pulled out the color along the edge. Repeat the rinsing, and continue to pull the color out by running a wet brush along the edge. 


These are the colors I used for my creation and I think they're lovely. I was just going to use one, but the owner of Paper Anthology, Elizabeth, told me to use at least two colors, probably three. Boy, was she ever right. See? The magic of technology at work. 

I stamped the butterflies again on some vellum so I could do an overlay and add a little bit of dimension. 


Ta-daaaa! I finished this little lovely with a gold border and an embossed sentiment from Verve (now retired, sadly). 

I'm going to end this bliggity blog with a little PSA - support your local stamp and papercraft store right now because they absolutely need it in order to survive! Paper Anthology is a prime example. They are currently shut down now due to shelter in place mandates, and that has cut off all source of income. They've created some classes in a kit that they will mail right to you! 


Also linking this up to the current STAMPlorations Theme and Sketch Challenge, where I used their theme of Stamps and Flight. 

Monday, April 2, 2018

Autism Awareness Blog Hop

An amazing bloggy friend (here's looking at you, Tenia) asked me to participate in a blog hop to raise in honor of Autism Awareness Day - recognized internationally on April 2.


Of course I said a resounding yes. I've been blessed to have individuals with autism in my life. One of my first ever jobs was working with an autistic man, helping him succeed in his job and it was one of the most rewarding things. People with autism might find themselves facing challenges with non-verbal communication and some social interactions.

You might have heard about the spectrum within autism and that's because it's really what it is - no two people with autism will present with the same symptoms. Today is a day to celebrate individuals with autism, and I'm proud to be a part of this hop.


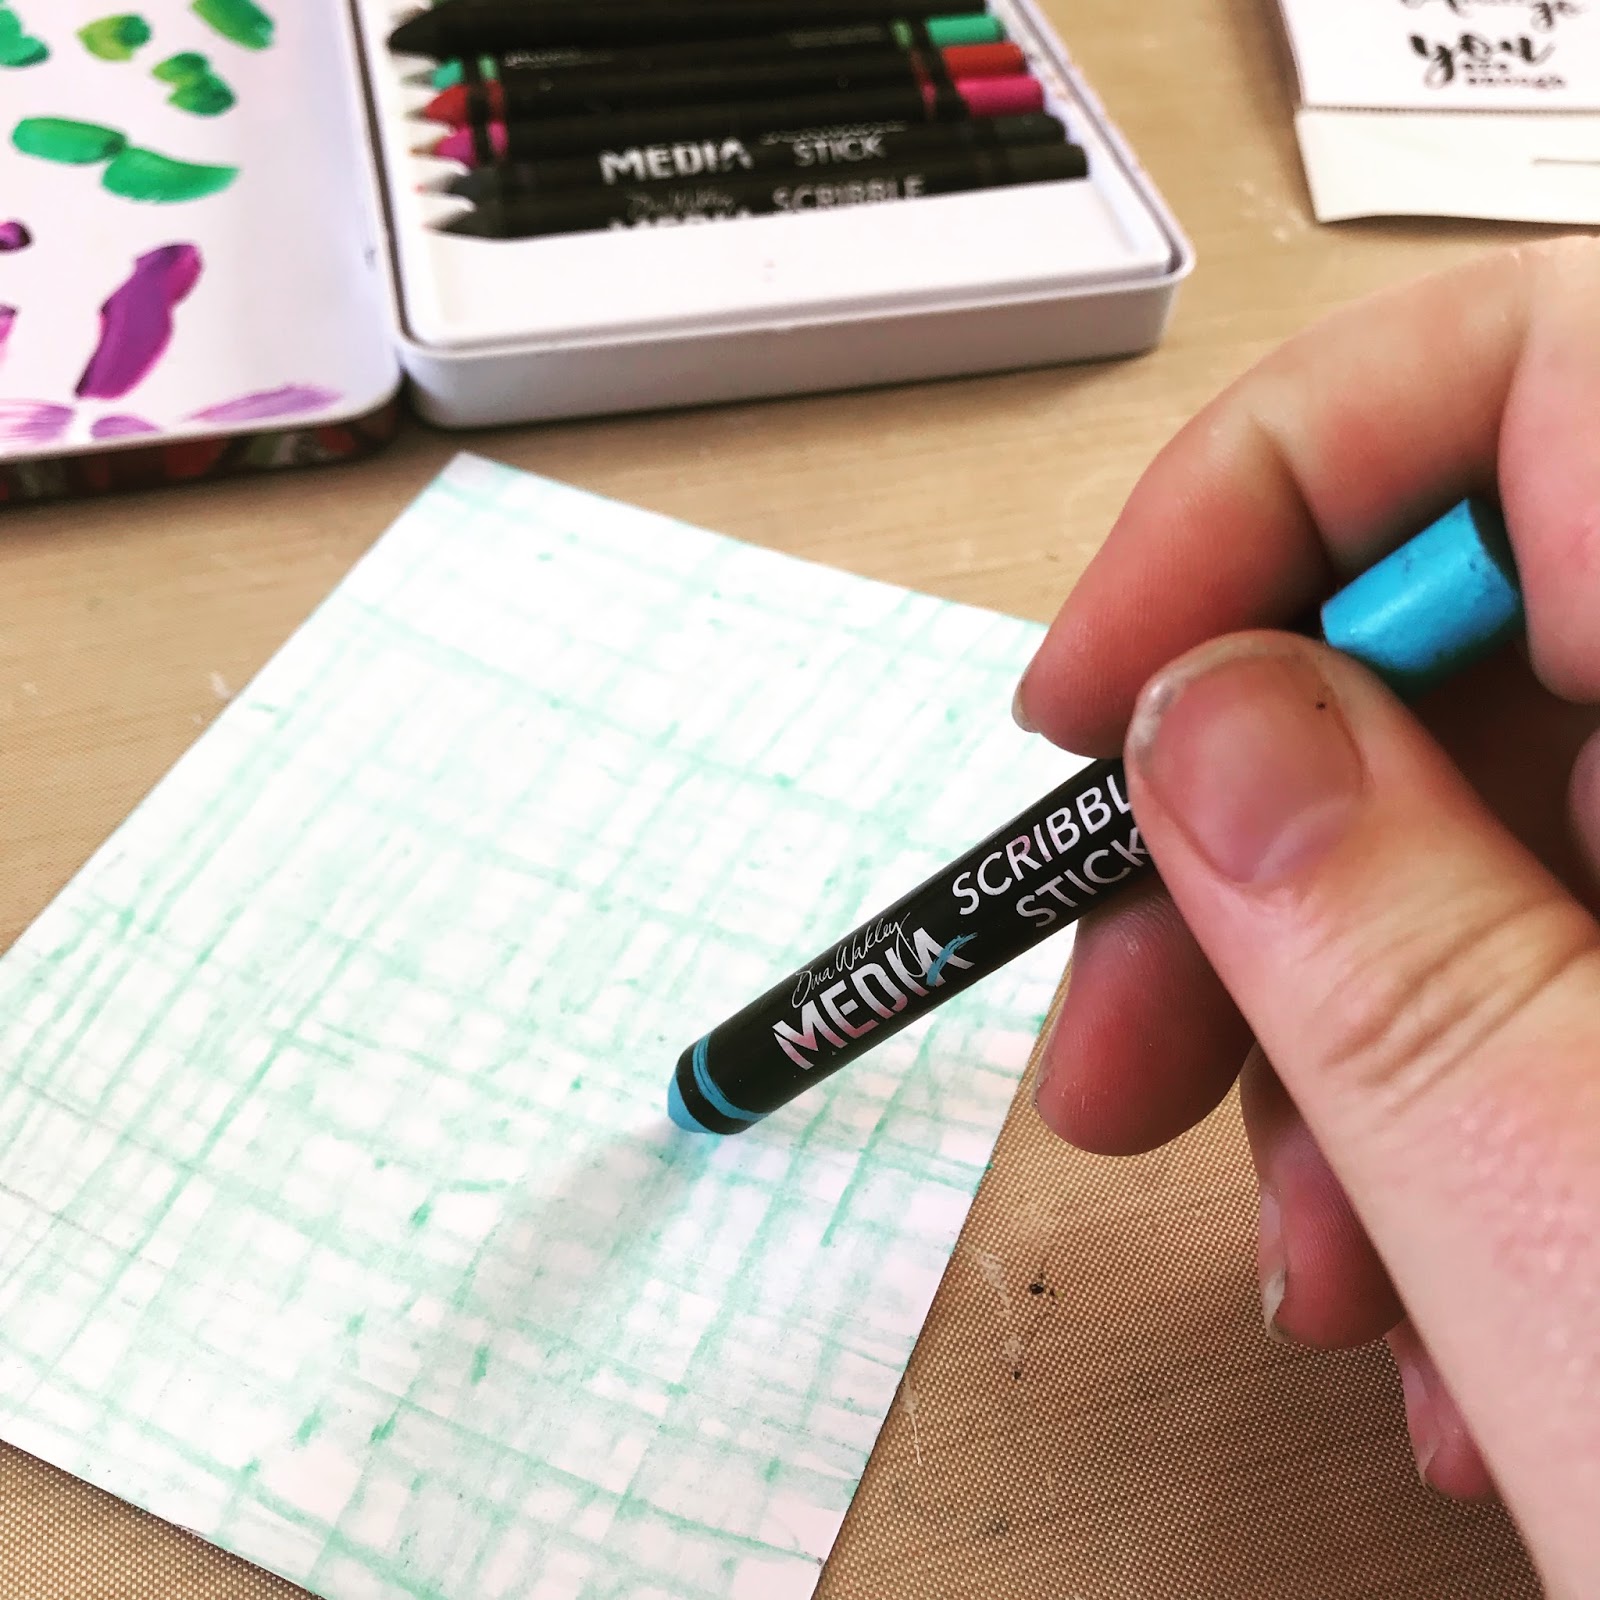
The color for autism awareness is blue, so I started with a watercolored blue background made with Dina Wakely Scribble Sticks.


I added to the blue with some mandalas, stamped with Distress Inks.


Next, I used a butterfly  mask from STAMPlorations and painted over it with gesso.


I outlined the butterflies, created with the negative space of my mask, using a Faber Castell Pitt Artist Pen, then used Scribble Sticks and water to create a hazy blue cloud around my butterflies.


I embossed a sentiment, super appropriate for this blog hop from STAMPlorations and added a little embossed butterfly.

 So there's my happy blue card. I hope you'll all participate in this awesome hop and check out the rest of the talented designers. Check them out! 


Tuesday, August 8, 2017

Layered Mixed Media Card Ken Oliver Color Burst Tutorial

If you've been following along on my blog, you know I've been stuck in CAS (or the Becca version of CAS anyway) for quite a little jaunt. 

I was bound and determined to break myself out of that zone and this weekend I set out to get messy. REAL messy. 


I also realized that it's been awhile since I've made an official tutorial for you, my bloggy followers (although I do post regular tutorials on both the STAMPlorations and Coffee Loving Papercrafters blogs). 

Here is my remedy for that! PS If you like the tutorial, please consider Pinning it!

Ken_Oliver_Color_Burst_Crystal_Tree_Card_Stamped


To be completely truthful, this card was alllllllmost a CAS design. I stamped a lovely tree from the Wendy Vecchi Card Art Sentiments stamp set.I thought I'd create a scene with the tree using some Ken Oliver Color Burst Crystals.... SO I spritzed my paper with water, plopped some crystals on, AND - hated  the result. It's not at all the lovely scene I was picturing. 

mixed_media_card_tutorial_collage_panels

So what did I do? Rather than putting the project into the trash bin, I cut it into different sized rectangles and started layering. 

gesso_handmade_card_background

I used a dry brush and some gesso on a sheet of black paper for my base. I love the look of the brush strokes still in plain view. 


mixed_media_card_faber_castell_pitt_artist_pen_drawing

Once I was happy with the position of my rectangles (and don't ask, please HOW many times I rearranged the pieces) I started gluing them down and defining the edges using a Faber Castell Pitt Artist Pen.<----psssttt these pens are divine for writing over pretty much any mixed media surfaces!


mixed_media_tutorial_card_background_ken_oliver_color_burst_crystals

OOOOOOooo - I think defining the edges really helps to make the individual pieces POP. I also added a layer of white scribbles to the edge of my black cardstock, using a white gel pen. 


Handmade_sympathy_card_mixed_media_color_burst_crystals_ken_oliver_butterfly_collage

I didn't want to cover up too much of my colorful panels, so I added a bold black butterfly die cut (PSSTTT... you can get it for 20% off in the STAMPlorations shop by using code STAMPGIRLBECCA) and a vellum overlay with a simple sentiment. 

I'm going to link up my creation to the following challenges:
More Mixed Media Challenge - ATG + Brights

Creative Craft Cottage - Add a Butterfly
Mix It Up - Anything Goes + Optional Paper Piecing

Taaaadaaaa! Messy beauty achieved. I'll have you know that creating this little number broke me out of my CAS shell and I'm back to my mixed media love.

Friday, April 21, 2017

Glitter, Gelatos & Butterflies - Oh My!

Friday! I don't know about you, but I'm pretty excited for the weekend. I'm volunteering at our first Art & Wine walk of the season (a downtown crawl with 20 locations where you get to visit with artists and drink wine at every location!) And next month, I'm going to be one of the featured artists in the walk!!! EEee!! We also have a live music festival going on this weekend, too. So yep - pretty hoppin'.


But you didn't come here to hear me blather, you came here to see some card-making action! I'm happy to acquiesce because today is the day I also remind you to go play along at STAMPlorations theme & sketch challenge


I went for the theme this time around (because you can choose either theme OR sketch OR combine them - and also win fun prizes - and you can you ANY kind/brand of stamp you want). 

I began my card by scribbling some Faber Castell Gelatos in concentric circles on a piece of white cardstock. 


I smeared the colors together using my fingers, to blend. 


Next, I wanted to add a little bit of texture, so I broke out the Faber Castell Glass Bead Glitter Gel and applied it through the Tribal Swirls ARTplorations stencil


I also wanted to incorporate all the colors from the Color Throwdown's latest scheme, so I stamped a big ol' purple butterfly from the STAMPlorations Trendy Butterflies 2 stamp set and cut it out using the coordinating dies. 


I decided I wanted to tie in my purple butterfly more, so I stamped a border using the Artsy Border Maker stamp set, and completed my look by stamping a sentiment (also from the Trendy Butterflies 2 set). 

Taaadaaa - glittery, grungy, artsy and oh-so-vibrant!

I'm also going to play along in the 4 Crafty Chicks - Butterflies challenge. 


Pssstt - if you want any of the products used in my card, you can use my personal discount code STAMPGIRLBECCA in the STAMPlorations shop to get 20% off your ENTIRE order. :o 


Thanks for popping by! I hope you'll come play along in the STAMPlorations Theme & Sketch challenge!

Wednesday, April 12, 2017

Butterfly, Love, and Card Concept

HHHHHHHHHHHHHhhhhhaaaaaaaaaaaaaaaaaaaaaapppy Wednesday! I hope you all are having a fantastic hump day so far! If not - don't worry! You've got plenty of time to change that and do something for yourself that is gonna make your attitude shift. 

As for me, I'm in the mood to share another Mother's Day Card. 


This little lovely was inspired by the new The Card Concept challenge, which is up on the blog TODAY! It's so springy and pretty and... well... just LOOK at it! 


I incorporated the color scheme and the butterflies into my design. 


My background was made using kraft paper and Distress Oxides, using the dipping technique. I added 3D stickers from Bo Bunny and a sentiment from Winnie & Walter. 

Viola! 

We're welcoming some brand spankin' new designers to The Card Concept team this challenge and boy are they a wealth of talent! Wowzas. Seriously - you need to go check it out and then play along with us! 

Pssssst... I'm also up on the Coffee Loving Cardmakers Blog today with a really cool tutorial on how to make this bold and graphic coffee card. 


Hope you'll pop on over and check it out! 

Thursday, March 30, 2017

Spring has Sprung - Fusion Challenge Card

I don't know about you all, but Spring has officially come to North Dakota. It's a whopping 45 degrees out this morning, so I shrugged off my jacket and enjoyed the crisp morning air. I LOVE this time of year - no mosquitoes, no hornets... only a teeny bit of mud to deal with. 


So when I saw the inspiration image for the new Fusion challenge, my spring-filled heart sprung a spring-filled beat. 

ALL THE AWESOME PEOPLE WHO TOOK MY LATEST CARD CLASS!

I haven't had much time to play in my craft room in the last two weeks. Between meetings, prepping for and teaching a cardmaking class, a new workout regimen, and some volunteering I have been running around and crashing as soon as my little legs carried me home. Last night, I finally ducked into my craft room for a play session at around 9 p.m. and I didn't come out until the clock chimed midnight. :o 

I was too busy playing around with the beautiful inspiration image and sketch over at Fusion Card Challenge


It's so springy and fabulous! If you haven't played along at Fusion, you can use either the sketch OR the inspiration image OR both! 


I loved the woodgrain, mixed with the bright fun florals so that's how I was inspired by the image And I used the sketch, too. Bah-blam! Fusion!


That big ol' sentiment is from the Winnie and Walter The Big, The Bold, and The Happy sentiment stamp set. 

I hope you'll all go check out what the rest of my teamies have made and play along yourselves. The gallery holds some FANTASTIC inspiration!

I'm going to play along in these fun challenges, too!:
Try it on Tuesday - Botanical
Simon Says Monday - Things with Wings
Deep Ocean Challenge - Flowers Everywhere


Thanks for popping by!