Showing posts with label Card Chain Challenge. Show all posts

Sunday, March 22, 2015

Stencils and Embossing Powder - CCC and NBUS

Whew! Something about traveling takes the wind right out of me. This week I had to give a grant writing presentation to city officials down in our state capital, Bismarck. Talk about nerve wracking! To top it all off, I was co-presenting with the Director of my Center. Double whew!

So that's why things have been a little quiet on the Becca front this week. Today I'm back to share a card that I made for the March Card Chain Challenge over at Society of Stampaholics. What is the CCC? I'm glad you asked! 

The CCC is Deborah Nolan's brainchild. It's a monthly card exchange of sorts. Basically you sign up to send a card, and you also get a card. It's a ton of fun and a great way to actually use those pretty cards you make. 
Today I'm going to talk about using stencils and embossing powder to achieve a great distressed effect. 

To make the panel for my card, I started by rubbing the background with some lighter shades of Distress Inks (Tattered Rose, Spun Sugar, and Stormy Sky). 


Many people just use stencils with inks, but there are so many ways to use them! A couple weeks ago, I did a series of tutorials showcasing stencils and embossing paste, distress paints, and spray stains. 

Using stencils with embossing powder is very similar to using stencils with inks. Rather than using ink, however, all you have to do is sponge with an embossing ink (I used Perfect Medium, which is a thicker ink that works well with Perfect Pearls). 


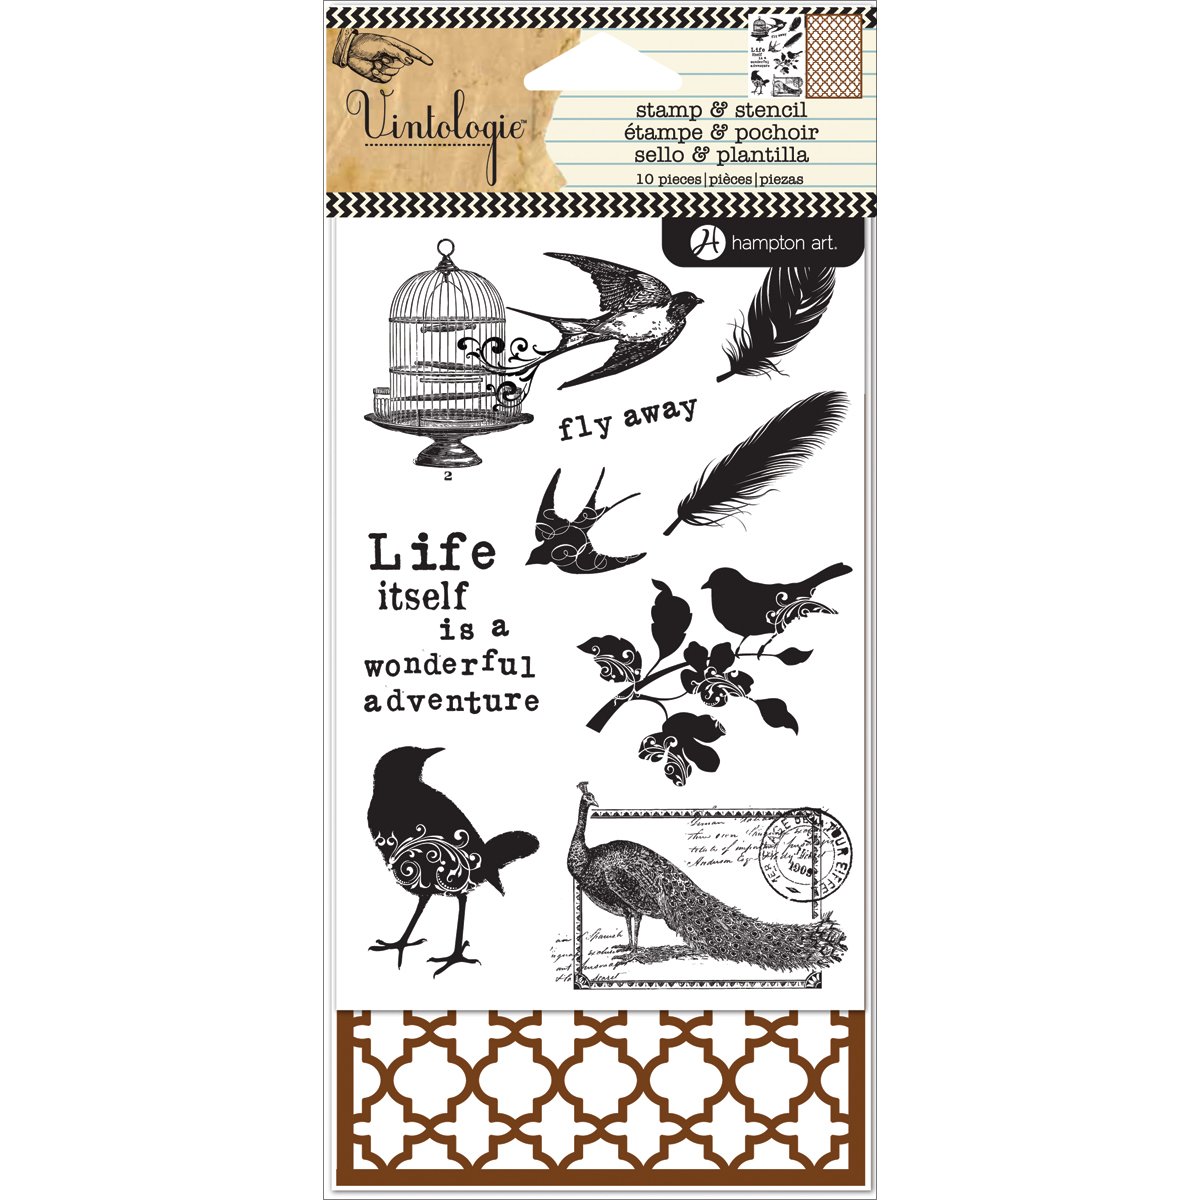
This stencil is a sticky back one that came along with a brand new set that I just got from Hampton Art. I was dubious at first about how the sticky back would work on paper, but it was AMAZING! I didn't have to worry about taping the stencil down to hold it in place and it peeled right off with no problems!


Anywho - I sponged the embossing ink through the stencil and used a gold powder. Before drying, I brushed some areas off to give it more of a distressed look. I embossed a bird on a piece of turquoise vellum and then added some pink flowers sand twine. Lastly I sprayed the background with Distress Spray Stains and put all the layers together: 


This card was sent to the amazingly talented Robyn Oliver in Australia. 

Speaking of cards, I received a gorgeous one in the CCC from Mynette Kitchen that I want to share with you all! 

Mynn Kitchen

Let's just say that one is VERY proudly displayed in my house! Gorgeous! 

HEY! Have you heard?! The NBUS challenge is now open for business (or pleasure)! What is NBUS? I'm glad you asked! NBUS is an acronym for never-been-used-schtuff and is the brainchild of the amazingly hilarious and warm Darnell Knauss of DJKardKreations. So pull out your unused stuff that needs some love and get playing already!!


I am also going to link up the following great challenges:
Simon Says Stamps Monday - Lions and Lambs Oh My (use animals)
Addicted to Stamps and More - Anything Goes
Little Red Wagon - All tied up (used twine)
Hiding in My Craft Room - Embossing

Thursday, February 5, 2015

January Card Chain Challenge Reveal

Many of you have heard me wax poetic about Deborah Nolan's Card Chain Challenge. For those of your who have not, a little poem for you:

Would you like a pretty card
To keep all for your own?
Do you want to bring a smile
To someone quite unknown?
Then take a gander at this site!
It will sure astound.
It's an exchange of crafty cards
Monthly from all around!

I'm sorry to have subjected you to that awful verse, but I wanted to be sure to tell you how much I LOVE participating in the Card Chain Challenge. It's not really a challenge at all - it's a monthly exchange with cardmakers around the world. You give a card, you get a card (and usually a little sumpin' sumpin' else too). Simple as that. The full reveal of all the cards is posted on Deborah's blog. If you're interested in signing up, the February exchange is still open, but only for 2 more days!

Anywho... on to the business of revealing my creation that was shipped to Helen in Ohio. If you've never had the pleasure of visiting Helen's blog, let me tell in advance that you will be bowled over by her creativity! 

I was going off the sketch the CCC gave, and I did an odd little thing. I just wanted to see if it worked, you know the drill. I folded the card in a very funny manner, leaving about an inch exposed on the left-hand side.


Then I stamped a background stamp of random words using Old Paper Distress Inks. I used a stencil and went over the words with a polka-dot stencil using Peacock Feathers Distress Inks, and then again using Dusty Concord.


At this point, everything just seemed ridiculously bright to me. So to continue in the vein of experimentation, I smeared gesso over a portion of the center panel, let it dry, then used a harlequin-shaped stencil to go over areas in Dusty Concord and Vintage Photo DIs. 


As you can see, I also created a little band with twine to keep the card closed. I even punched tiny hearts (it's in the details, people!). 


Next, I took this cool chipboard heart and used some Distress Paints (Broken China, Dusty Concord, Picket Fence) I dabbed on the paints, spritzed with water, dabbed on another layer, spritzed with more water until I got the look I was going for. 

Lastly, I embossed the word LOVE in gold and - VOILA:


I added some little pearl buttons to add a little class. Who doesn't love pearls?

I'm sending my card over to the following challenges:
Craft Hoarders Anonymous - build your challenge 

 I used Paint, Twine, Stamping, Chipboard, and Bling.

Simon Says Stamp Monday Challenge - H is for (my H is for HEART!) 
Mod Squad - Use water (I used lots of water to make my heart chipboard)
Mixed Media Card Challenge - Love (option of buttons) 
Penny Black and More - Anything Goes


 Jo in England mailed me a card this month and it's divine! It showcases inlaid die cutting just perfectly. And it had lots of sparkle (which of course the camera doesn't pick up). Thanks again Jo! I love it!


Jo is one of those rare breed of crafters whose every card is completely gorgeous and makes you hang your head in shame. Check her out!

Thank you all for stopping by and leaving me fuzzy comments! They make my day!

Friday, December 5, 2014

Card Chain Challenge - November reveal

Well folks, I'm starting December off the right way - by being late for everything! Extenuating circumstances have caused my procrastinating self to reemerge victorious. 

Just as a heads up. The regularly scheduled Featured Friday will be on break for the month of December due to hectic holiday schedules. But have I ever got some great guests lined up for January!

Deborah of Society of Stampaholics posted her big reveal of the Card Chain Club on December 1st, and I am just now getting around to posting my coordinating card. 


This card was sent to Florida for Miss Barbara. I embossed that bird stamp I had and paired it with some striped paper and some charms I found at Michael's. 

I'd like to enter my card into the Little Red Wagon's Things With Wings challenge because I love my golden embossed bird. That is one OLD rubber stamp from the 90s! 

I'd also like to support the Chocolate, Coffee, and Cards Challenges "Use A Charm". It was fun to pull out some metal embellishments and figure out how to attach them to the card. I'd also like to thank May Arts Ribbon for the Natural Burlap string that I won in the Caring Hearts Card Drive Blog Hop. I LOVE it!!

If you haven't heard of the Card Chain Challenge - you should check it out! I make and make and make homemade cards, but rarely do I receive one. If you sign up for the CCC another crafter somewhere in the world will send you a homemade card (and sometimes extra little goodies). Signup is offered on a month-to-month basis so there's no obligation if you're busy on one month. The next signup will be offered on December 7th!  :) 

I received this amazing card full of sparkly goodness from Nicole of Chez Parmentier who mailed it all the way from the Netherlands:


I loved all the layers, textures and those sweet little wooden embellishments. It's proudly displayed with the rest of my homemade cards. 

There. Now I am all caught up with some of the posts and can get back onto solid footing with good ol' December.

Thank you for stopping by! Leave me a comment and follow my blog and I'll be sure to return the favor!

Saturday, November 1, 2014

A Card Exchange You Should Know About

When is the last time that YOU received a handmade card in the mail? I usually get some from my crafty family around Christmas and my birthday but, other than those occasions, handwritten correspondence is few and far between.

That's why, when I came across the Card Chain Challenge, I signed up lickity-split! The big reveal of all the cards was posted today! There are some genius, inventive cards this month. The Challenge is the brainchild of the fantastic Deborah Nolan. Every month, you get the name and address of a crafter to send to, and somebody else mails you a card, too! I've made such fantastic bloggy friends through the site. If you think you might be interested, you have until the 15th of the month to sign up for the November exchange here. People from all over the world can participate!

This month, I sent a card to Lin of Sending Hugs. Here it is!


I'm entering this card into the Simon Says Stamp Wednesday Challenge - Anything Goes and the STAMPlorations anything goes challenge


The flower and sentiment are from STAMPlorations Sketched Blooms set. I used the colors and sketch suggested by Deborah at the CCC. That flower is actually created out of an old brown paper bag. It creates such a delicate petal-like feel. To see how it was made, check out my blog post "Burning Paper Bags - FIRE!".


The pennants were handmade too!

First I brushed a mixture of Dusty Concord and Spiced Marmalade Distress inks onto a piece of thick white cardstock. Then I used a hexagonal stencil and applied crackle embossing paste. 


I put some clear embossing powder over the top of the paste and heat dried it. Sometimes I like to heat dry paste because it starts to bubble and raise up, which I think creates a neat texture.


Lastly, I mixed some of my Perfect Pearls (Perfect Copper and Forever Violet) in a mini mister and spritzed the heck out of the card. 


I think I'll be making many more pennants like this in the future because the final screamed with shimmer and texture. In real life it was just so dang beautiful!

I just want to gush a little bit about the card I received from the very talented miss Robyn Oliver of Waterlily Cards. Robyn makes some AMAZING designs, but my favorite are her handpainted watercolor cards. They are just stunning!

This is the card I unwrapped with glee:


Isn't it gorgeous?! And you guys can't necessarily see how shiny the foreground is, but it's so sparkly!!! It's hanging up with the rest of my card exchange cards and makes me smile. 


Speaking of things that make me smile: Leave me a comment and follow my blog, won't you? I'll be sure to do the same!


Wednesday, October 1, 2014

Clean and Simple Autumn Colors Card

I never do this. Never. Somebody better take my temperature because I somehow made a clean and simple card that I actually like! For the international card exchange, I sent this little lovely to Dawn in New Zealand
And what better way to celebrate this card other than entering the Craft-Room Challenge, which is currently all about the changing of the seasons. Dawn is currently entering Spring in New Zealand, while I am busy pulling out my winter jackets and preparing them for the frigid North Dakota Winter, which is right around the corner (shiver*)! In the Craft Room Challenge, you can make a card that reflects either Autumn Colors or Spring - you choose!

I used my trusty Distress Inks on Stamping Up's Fall Foliage set and spritzed generously with water before letting it seep into the paper. I masked each leaf as I went along. So it's a simple card, but definitely a little time-intensive. 

I'm also going to enter it into the One Layer Simplicity Challenge #10 - Turning to Fall. Because I CAN! I shouldn't be this excited about stamping outside of my aesthetic, but I kind of am. 

By the way can I just say how much I LOVE the International Card Exchange? It's been so much fun to get a card in the mail once a month from somewhere around the world. And it's so fun to send one and get to know some really talented crafters. I got this amazing card from Joy. It's hanging on my fridge and getting lots of ooohs and aaahs.


If you are interested in participating in the card exchange, head on over to Society of Stampaholics and check out the big reveal. You can sign up through the 15th of every month!

Tuesday, September 2, 2014

Distress Inks Watercolor Stamp Technique

I told you all about the international card exchange I participated in last month. The big reveal of all the cards was posted today and so I can finally talk about the card I sent all the way to Norway for the lovely Gail of "The Crafty Nomad".

The card I made for today's blog post is very similar to the one that I sent to Gail, but I wanted to soften it a bit and make it into a thank you card to give to my administrative assistant (who makes my life so much more pleasant). In order to soften it, I decided to use a watercolor technique with Distress Inks. I adore Distress Inks and all the unique ways you can use them.


MATERIALS:


  • Tan cardstock
  • Brown sheer ribbon
  • Distress Inks: Tattered Rose, Faded Jeans, Festive Berries, and Vintage Photo
  • Inkssentials blending tool (or a sponge)
  • Mini Mister
  • Personal Stamp Exchange "Rust Tampestry" embossing powder
  • Stampin Up' "Inspired by Nature" stamp set
  • Stampendous "Dream Text Stamp" background
  • Hampton Art Studio G "Ever Thankful" stamp


I started by folding a piece of 5x11 tan cardstock into a trifold, accordion style. I used Stampin Up's "Inspired by Nature" retired stamp set (it's still available as a digital download). To achieve the watercolor effect, I inked the stamp pad generously with Faded Jeans Distress Inks and then used a mini mister to spritz water onto the inked stamp before stamping the image.


I repeated the effect using Festive Berries and Tattered Rose Distress Inks, layering the position where the stamp was placed. Next, I stamped grass from the same stamp set over the watercolored flowers (without spritzing the stamp). I cut around the flowers to create the top layer. I used Stampendous's Dream Text Stamp to stamp the background all over the second layer, again using Tattered Rose. To create a wonderful depth around the edges, I used a blending tool and added vintage photo around the edges, more heavily in the upper right corner. I added ribbon, and my thank you saying to finish out the card.

I love the final result!

Just as an aside, the card challenge asked us to use specific colors (or close to them). A handy way to know what your Distress Inks will look like when you stamp them on the paper is by creating a personal color wheel.


Cut out tags of paper and add an eyelet. Brush with one color of the distress inks, and using clear embossing powder on the bottom half. That way you'll know what the ink color will look like flat, or with embossing powder. It's surprising just how much the color changes! Add a keyring to bind them all together.

Enjoy!